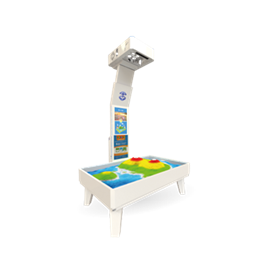
Make Your Own Map (Sandbox)
Tasks
|
||||||
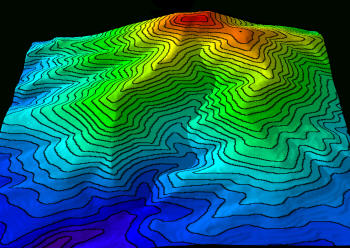
MathsContour lines join points of equal height. This is very useful on maps because it makes it easy to see how hilly a place is. On a map, a hill will look like concentric circles or, more likely, concentric wobbly loops. If you walked around the loop, you will always be at the same height.
The large outer loops represent the bottom of the hill, while the small inner loops represent the top of the hill. You can see how steep a hill is by how close the contour lines are. When the lines are close together, the hill is very steep. When the lines are far apart, the hill is not steep. You can work out the gradient of the hill by counting how many contour lines you cross on the way up. Contour lines don’t just have to mark points of equal height. For example, weather maps use contour lines to mark points of equal pressure.
|
||||||
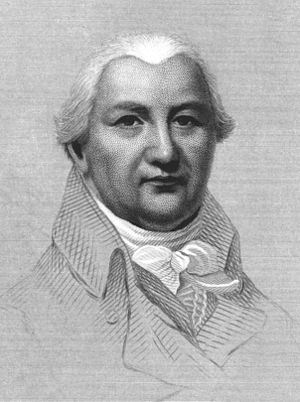
HistoryThe oldest known map that used contour lines is from 1584. This map recorded points of equal depth of the Spaarne river in the Netherlands. In 1737, French map maker, Philippe Buache charted the depths of the English Channel with contours lines set at 10-fathom intervals. In 1774, English mathematician Charles Hutton used contours to calculate the volume and mass of the Schiehallion mountain in the Scottish highlands. This mountain was big enough to deflect a pendulum from pointing straight down, so from the mountain’s mass it was possible to calculate the mass of the Earth. By 1843, contour lines were being regularly used to create maps. The idea then spread to other applications, such as charting points of equal pressure as seen on weather maps. |
||||||
People
|
||||||
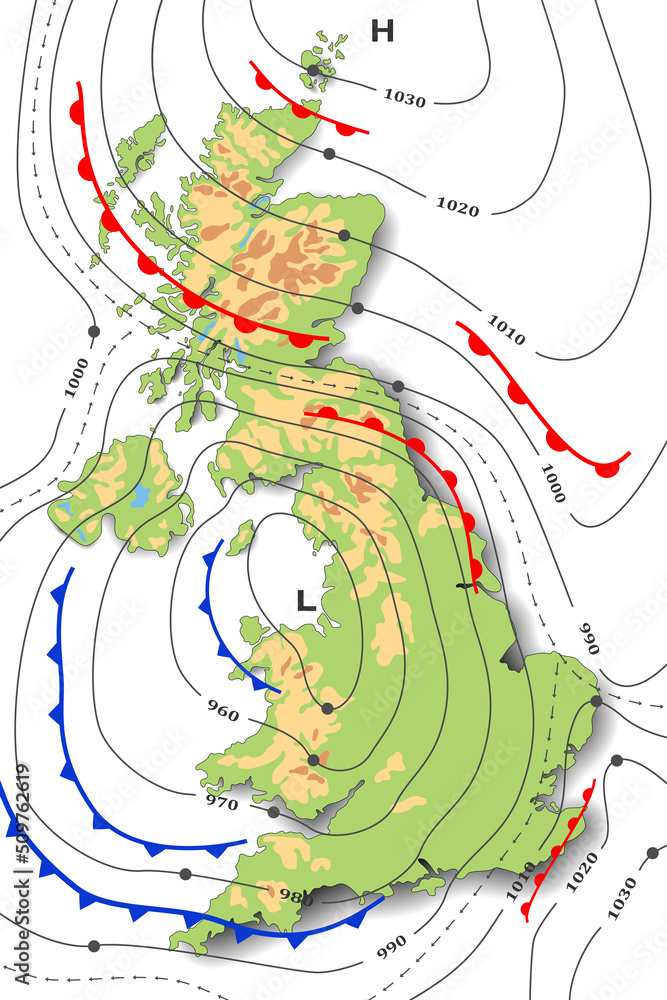
ApplicationsThe most common use of contour lines is for maps, typically joining points of equal height. However, nautical maps can also chart points of equal depth. An isobar is a line joining points of equal pressure. These are used in weather maps to preduct future weather patterns. Other applications of contour lines include joining points of equal temperature, rainfall, magnetism and pollution. |
||||||
Maths at HomeCreate your own mountain. Start by drawing a contour map (you may want to make two copies). Cut around the first contour, then trace that contour onto foam and cut it out. Repeat the process for the next contour, and all other contours. Assemble the foam layers to make your own mountain.
|